
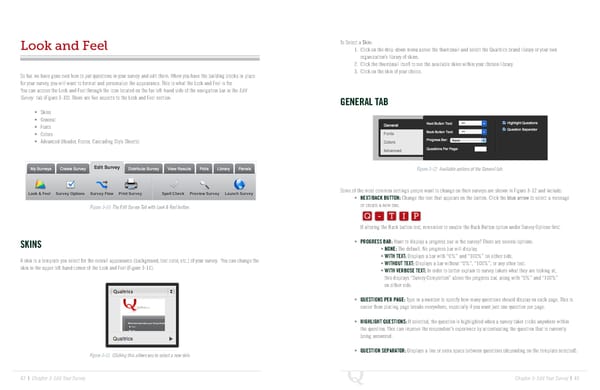
Look and Feel To Select a Skin: 1. Click on the drop-down menu above the thumbnail and select the Qualtrics brand library or your own organization’s library of skins. 2. Click the thumbnail itself to see the available skins within your chosen library. So far, we have gone over how to put questions in your survey and edit them. When you have the building blocks in place 3. Click on the skin of your choice. for your survey, you will want to format and personalize the appearance. This is what the Look and Feel is for. You can access the Look and Feel through the icon located on the far left-hand side of the navigation bar in the Edit Survey tab (Figure 3-10). There are five aspects to the Look and Feel section: GENERAL TAB • Skins • General • Fonts • Colors • Advanced (Header, Footer, Cascading Style Sheets) Figure 3-12 Available options of the General tab. Q-TIP -TIP Some of the most common settings people want to change on their surveys are shown in Figure 3-12 and include: • NEXT/BACK BUTTON: Change the text that appears on the button. Click the blue arrow to select a message Q - T I P Figure 3-10 The Edit Survey Tab with Look & Feel button. or create a new one. Q - T I P If altering the Back button text, remember to enable the Back Button option under Survey Options first. - T I P SKINS • PROGRESS BAR: Want to display a progress bar in the survey? There are several options: • NONE: The default. No progress bar will display. A skin is a template you select for the overall appearance (background, text color, etc.) of your survey. You can change the • WITH TEXT: Displays a bar with “0%” and “100%” on either side. skin in the upper left hand corner of the Look and Feel (Figure 3-11). • WITHOUT TEXT: Displays a bar without “0%”, “100%”, or any other text. • WITH VERBOSE TEXT: In order to better explain to survey takers what they are looking at, this displays “Survey Completion” above the progress bar, along with “0%” and “100%” on either side. • QUESTIONS PER PAGE: Type in a number to specify how many questions should display on each page. This is easier than placing page breaks everywhere, especially if you want just one question per page. • HIGHLIGHT QUESTIONS: If selected, the question is highlighted when a survey taker clicks anywhere within the question. This can improve the respondent’s experience by accentuating the question that is currently being answered. • QUESTION SEPARATOR: Displays a line or extra space between questions (depending on the template selected). Figure 3-11 Clicking this allows you to select a new skin. 42 | Chapter 3: Edit Your Survey Chapter 3: Edit Your Survey | 43
 The Complete Research Suite Page 21 Page 23